

As part of the the Six-Week Creator Challenge, I promised to share free tools that I use to create and sell digital products online. This week focuses on TpT (Teachers Pay Teachers), but even teachers who don’t plan to sell on TpT will find these tools useful.
If you’re a teacher or educator looking to turn your classroom resources into digital products, you don’t need expensive design software to get started. In fact, some of the most popular products on Teachers Pay Teachers (TpT) are created with tools you already know and love, such Google Docs and Google Slides. For those of you who don’t like Google products, I will be addressing other free tools, such as Canva and MS Office tools, in future posts.
However, I love Google’s free suite of tools, especially Docs and Slides. Whether you’re building engaging graphic organizers, editable writing prompts, or classroom decor, Google tools can help you create polished, professional-looking products with ease. Here’s how to get started.
Step 1: Choose the Right Tool for Your Product
Google Docs is perfect for:
- Printable worksheets
- Reading passages
- Lesson plans or unit outlines
- Instructional guides or templates
Google Slides is great for:
- Interactive lessons
- Task cards or flashcards
- Anchor charts
- Student activities that require visual organization
- Editable classroom signs or posters
The best part is that you can also combine both tools—use Docs for written instruction and Slides for visuals.
Step 2: Set Up Your Document or Slides for TpT Use
- Page Setup:
- For printable products, change the slide/page size to standard 8.5 x 11 inches (File > Page Setup > Custom).
- Use landscape or portrait depending on your design needs.
- Branding & Design:
- Use consistent fonts, colors, and a simple logo or footer with your name/store link.
- Add a cover page, directions page, and credit page to your product.
- Include terms of use and citation for any graphics or fonts used.
- Make it Editable (Optional):
- Create editable text boxes in Slides so teachers can customize parts of the product.
- In Docs, use tables or comments to guide users where they can modify content.
Step 3: Export, Bundle, and Upload
- When your product is complete:
- Export as a PDF for secure, print-ready versions.
- If offering an editable version, include the Google Docs or Slides link using a force-copy URL.
- Bundle PDFs and editable versions in a ZIP file if needed.
- Upload your product to TpT:
- Write a clear, keyword-rich product title and description.
- Include preview images (screenshots of your Doc/Slides).
- Tag relevant grade levels and standards.
Final Tips for Success
- Start with resources you already use in class. If it worked for your students, chances are other teachers will find it valuable too.
- Keep your formatting simple and classroom-tested.
- Reuse templates! Save time by reusing Docs/Slides layouts across multiple products.
Creating high-quality TpT products doesn’t require fancy design software. With Google Docs and Slides, you can create resources that are clean, customizable, and totally teacher-friendly.
Short Story Analysis Tool-Kit
I created the product below, in my TpT store, using Google Docs + Canva (for the cover)
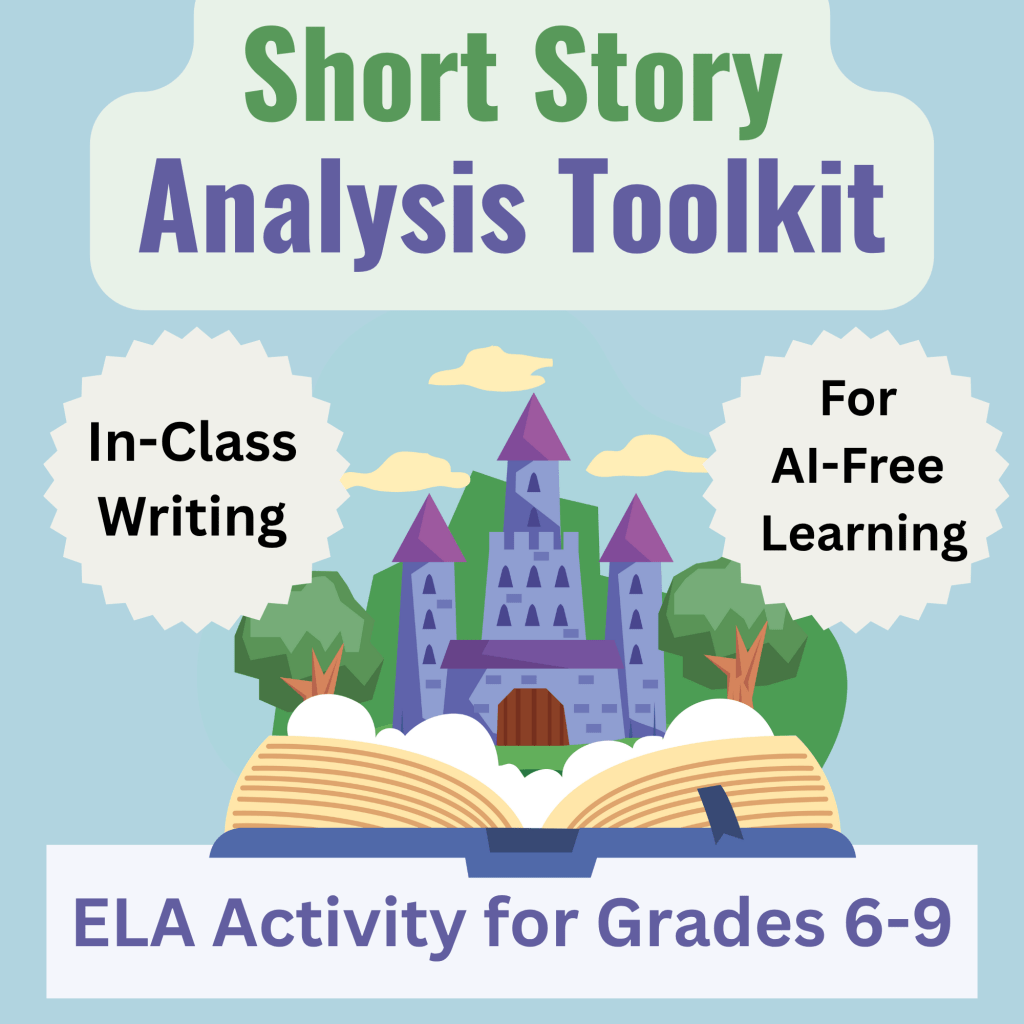
Short Story Analysis Toolkit (link to TpT)


You must be logged in to post a comment.