Making the Most of Your Summer


I’ll be honest, in the summer I tend to fluctuate between wanting to do nothing but sit on the couch watching Netflix and eating Taco Bell, to wanting to work on projects that I never have time for (like writing my novel), to wanting to do some prep for the coming school year.

It’s important to rest and recharge, but I also find that I get more out of summer, and have a less stressful school year, when I plan to do a little work on projects and prep. I make it fun, by working in a coffee shop or preparing a snack to eat while I work, and I stick to being producting only a few days a week, while the rest of the week I do things with my kids.

Here are some suggestions for things to do to prepare for the coming school year:

  1. Reflect on the previous year: THIS IS SO IMPORTANT. Take time to reflect on the previous school year, identifying both successes and areas for improvement. Consider what worked well and what changes you want to implement in the upcoming year.

  2. Set goals: Establish clear and achievable goals for the upcoming school year. These can be related to student achievement, personal growth, or professional development. Setting goals will give you a sense of direction and purpose.

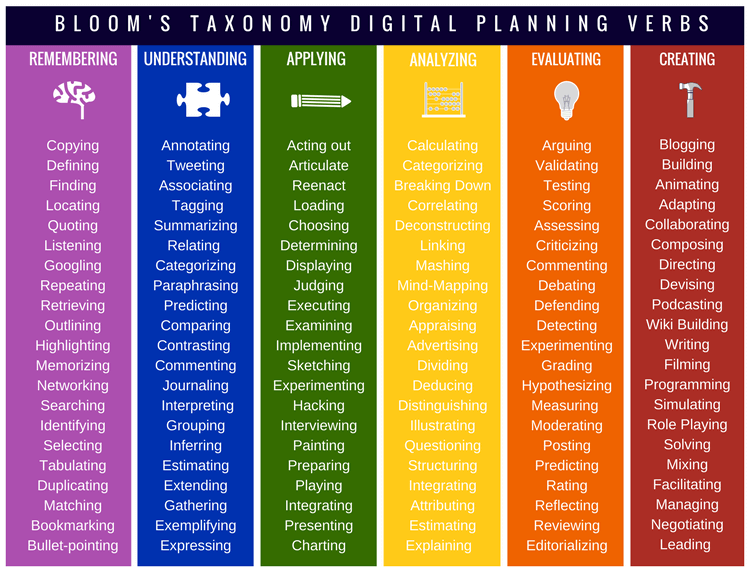
  3. Create or update resources: Take the time to create or update teaching resources, such as lesson plans, worksheets, and presentations. Consider incorporating new instructional strategies, technologies, or resources that can enhance student learning.

  4. Explore new teaching strategies: Stay up to date with the latest educational research and pedagogical approaches. Explore new teaching strategies that align with your goals and the needs of your students. Look for professional development opportunities or online courses that can expand your teaching toolkit.

  5. Read educational literature: Read books, articles, or research papers related to education and teaching. Explore topics that interest you, such as classroom management, instructional strategies, or social-emotional learning. These readings can deepen your understanding and inform your practice.

  6. Refresh your knowledge: Review content knowledge in your subject area. Brush up on topics you might be teaching and ensure you are up to date with any changes in your field. This will boost your confidence and help you deliver accurate and meaningful instruction.

  7. Take care of yourself: Remember to prioritize self-care during the summer break. Engage in activities that recharge you mentally, emotionally, and physically. Take time for hobbies, relaxation, and spending quality time with loved ones. A well-rested and rejuvenated teacher can bring more energy and enthusiasm to the classroom.

  8. Plan for classroom management: Reflect on your classroom management strategies and consider any necessary adjustments. Plan for establishing routines, rules, and procedures at the beginning of the school year to create a positive and structured learning environment.

By engaging in some of these activities, we can start the school year feeling prepared and inspired.

A Guide to Creating Rubrics


What is a Rubric?

 A rubric is a tool that teachers use to help them communicate expectations, provide focused feedback, and grade products, can be invaluable when the correct answer is not as cut and dried as Choice A on a multiple-choice test. But creating a great rubric is more than just listing expectations and assigning percentage points. A good rubric needs to be designed with thought and care in order to be most helpful to teachers and students.

Steps to Creating a Rubric

Step 1: Define Your Goal

Before you can create a rubric, you need to decide the type of rubric you’d like to use, and that will largely be determined by your goals for the assessment.

Ask yourself the following questions:

  • How detailed do I want my feedback to be?
  • How will I break down my expectations for this project?
  • Are all of the tasks equally important?
  • How do I want to assess performance?
  • What standards must the students hit in order to achieve acceptable or exceptional performance?
  • Do I want to give one final grade on the project or a cluster of smaller grades based on several criteria?
  • Am I grading based on the work or on participation? Am I grading on both?

Step 2: Determine Your Criteria

This is where the learning objectives for your unit or course come into play. Here, you’ll need to brainstorm a list of knowledge and skills you would like to assess for the project. Group them according to similarities and get rid of anything that is not absolutely critical. A rubric with too much criteria is difficult to use and can be overwhelming to the students. Try to stick with 4-7 specific criteria for which you’ll be able to create unambiguous, measurable expectations in the performance levels. You’ll want to be able to spot the criteria quickly while grading and be able to explain them quickly when instructing your students. In an analytic rubric, the criteria are typically listed along the left column.

Step 3: Create Your Performance Levels

Once you have determined the broad levels you would like students to demonstrate mastery of, you will need to figure out what type of scores you will assign based on each level of mastery. Most ratings scales include between three and five levels. Some teachers use a combination of numbers and descriptive labels like “(4) Exceptional, (3) Satisfactory, etc.” while other teachers simply assign numbers, percentages, letter grades or any combination of the three for each level. You can arrange them from highest to lowest or lowest to highest as long as your levels are organized and easy to understand.

Step 4: Write Descriptors for Each Level of Your Rubric

This is probably your most difficult step in creating a rubric. Here, you will need to write short statements of your expectations underneath each performance level for every single criteria. The descriptions should be specific and measurable. The language should be parallel to help with student comprehension and the degree to which the standards are met should be explained.

Again, to use an analytic essay rubric as an example, if your criteria was “Organization” and you used the (4) Exceptional, (3) Satisfactory, (2) Developing, and (1) Unsatisfactory scale, you would need to write the specific content a student would need to produce to meet each level. It could look something like this:

Examples of Rubric Criteria

For a Paper/Essay

clarity, organization, grammar

context of & purpose for writing, content development

genre & disciplinary conventions

sources & evidence

control of syntax & mechanics

communication, critical thinking, content

thesis, structure, use of evidence, analysis, logic and argumentation, mechanics


For a Presentation (individual)


content, organization, graphics, English, elocution, eye contact

introduction, organization, context, evidence, analysis, presentation

organization, language, delivery, supporting material, central message

organization, subject knowledge, graphics, mechanics

eye contact, elocution

For a
Presentation (group)


individual presentation skills, group presentation skills

group organization, individual organization, individual content

For a Debate

respect for other team, information, rebuttal, use of facts/statistics, organization,

understanding of topic, presentation style

For Leading a Class Discussion

preparation, content, discussion/debate methods, discussion questions, communication skills

For Problem Solving

define problem, identify strategies, propose solutions/hypotheses, evaluate potential solutions, implement solution, evaluate outcomes

statement of problem, correctness of proof

understanding; strategies, reasoning, procedures; communication

analysis, interpretation, application


To download this guide as a free PDF and receive a free editable rubric template, enter your email below to subscribe to ELA Source:

Warning

Lesson Planning with Bloom’s Taxonomy

Bloom’s Taxonomy is a tool that you can use to help determine the levels of thinking you’re asking students to do, from simply remembering to understanding to applying and creating. This can give you insight into how to assess student learning and how to push students in higher-order thinking. Building upon each level in your lesson plans will guide students to think in increasingly more sophisticated ways.

I’ve used Bloom’s Taxonomy for years and have always found it helpful, but when I went looking for resources to share with my students I was surprised at how many videos and articles implied that teachers should include every level of Bloom’s Taxonomy in all of their lesson plans.

NOT TRUE!

How should you use Bloom’s Taxonomy in lesson planning?

One way is to think about the learning objectives for your lesson. What are you asking students to do, and what do you want them to be able to do at the end of the lesson? It can be helpful to see how your learning objectives align with Bloom’s Taxonomy by looking at the planning verbs below, NOT to make sure you’re hitting every level (not every skill needs to be taught and assessed at every level), but to help make you aware of what level of the taxonomy your lesson is hitting.

For example, if you are always asking students to identify and define key terms, you might want to think about ways to help them learn to apply those terms. Students may be able to define the parts of speech, but are they then able to use them in a sentence? Students may be able to identify examples of characterization and setting in a piece of literature, but are they able to create their own characters and describe the setting in their stories?

I’ve included a table of helpful planning verbs below. You can also download a free planning table HERE.

Remote Teaching: Options and Strategies

remote-teaching

Some people prefer to call it ERT, or Emergency Remote Teaching, so as not to normalize the lack of preparation and training many teachers have been given for teaching online this past spring and this fall during a global pandemic. Like many of you, my institution decided to switch to “remote learning” at the last minute, after a summer of promising and preparing to be in-person.

I have some experience teaching online courses and I enjoy it under normal circumstances, but I’ve been exploring different options for course delivery this fall, which includes things like remote synchronous (teaching “live” during scheduled class time), asynchronous (most traditionally online courses are delivered this way) and HyFlex (a combination of three delivery methods when and if in-person instruction is also available). I will be using this post to provide a curated list of resources and links to all three approaches. In helping other teachers, I believe in simplicity, so instead of including an exhaustive and comprehensive list of resources, I’ve included the three I find most helpful. I will also be writing up a few posts about the approach as I plan my fall classes, and will be making up some free resources (such as active learning graphic organizers) to share. Please follow this blog for more!ย 

HyFlex Course Model

Hybrid Flexible Course Design by Brian Beatty

“Student Choice, Instructor Flexibility: Moving Beyond the Blended Instructional Model”

A Closer Look at Hybrid Flexible Course Design

To follow this blog for more on remote teaching type your email in the sidebarย  โ†’
(I will never spam you or share your email with anyone)